Pages

.

.
Showing posts with label #digitalstamp. Show all posts

Tuesday, 24 March 2020

Be in my Heart

Hi all,
Well, pretty much near the end of this current challenge at Ching Chou Kuik's Facebook Group.
For my last card this month I have used the gorgeous:
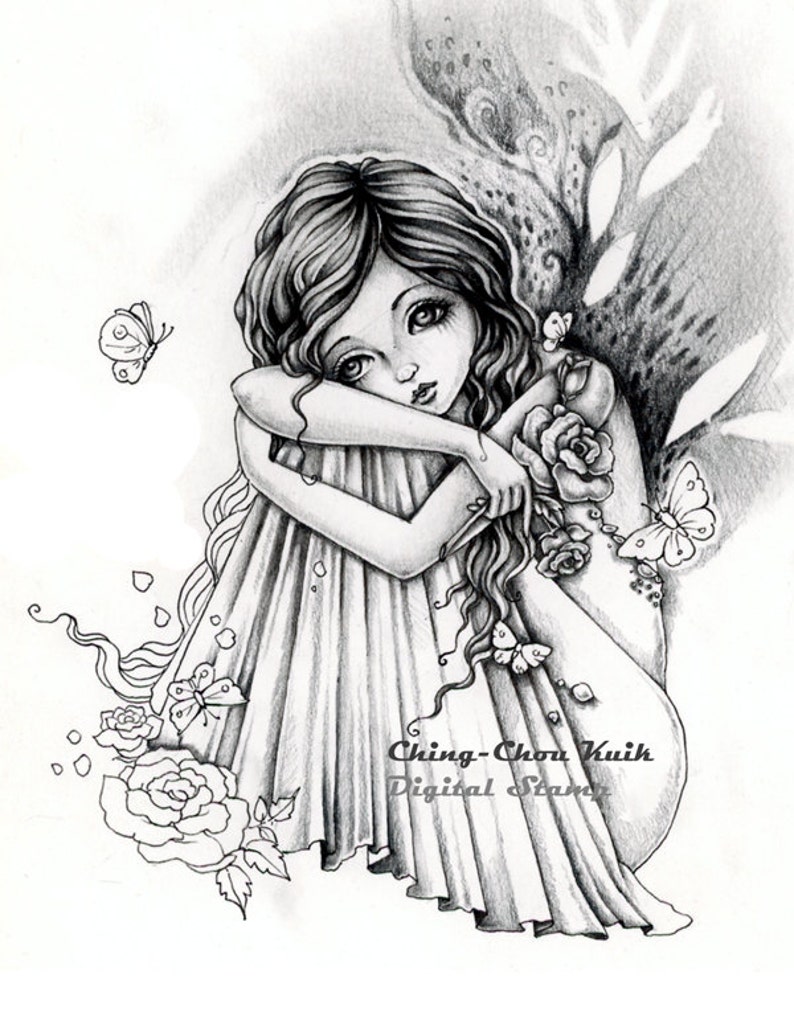
Be in My Heart  Instant Download Digital Stamp / Rose Flower image 0
Isn't she just beautiful?
So here is my interpretation of her:

Now those of you who have been here before will know that I am not a lover of green really but for some reason I just thought of green as soon as I saw this image.
And, to be honest, I am really pleased with how this turned out.

Image is coloured with my Copics and I left the background white as I wanted the image to just stand out on it's own.

The papers are from a Lili of the Valley pad which are no longer available to buy as physical pads.  I think they do some digital pads but they are just not the same sadly.  Hey ho.

All the flowers are from my stash as are the little gems.

That little label, sentiment and butterfly are all from the new range at Lisa Horton Crafts at That Craft Place.  A stunning new range from Lisa now that she has decided to take the huge step of going out on her own.  There are some absolutely fabulous goodies and they can be used in sooooo many different ways.  Well worth a look - trust me.

So, I hope you found the time to take part in this month's challenge and I will be back soon with more inspiration for next month's challenge.
Stay safe everyone.

TTFN
xxx

Challenges:

Saturday, 7 March 2020

Hello Spring!

Well,I might be saying Hello Spring but ir really still feels like the middle of winter here.
I hope it starts to warm up soon, I don't like the cold.  Mind you, I would rather have it cold than wet wouldn't you?  I feel so sorry for all those folk whose homes have been flooded, it must be a nightmare.
Anyway, I digress.  We are well into our new challenge at Ching Chou's Facebook Group (remember that the challenge blog also has the same theme so you could enter in both places if you wanted to!)
The theme this month is Easter or Floral, your choice.

So Hello Spring is the image I have chosen to use this week.

The main image is coloured with my Copics and the background is done with Pan Pastels and a paintbrush as I think it applys to the card much better that way.

The lace is some that I won from a wonderful lady on Facebook, Brenda's Lace and Ribbon Specials.  Sadly I don't think the group is still running anymore and that's a real shame as she had some fabulous products.

The sentiment across the lace is from Polkadoodles.

Those gorgeous bright pearls are from Lisa Horton Crafts and you can purchase them from Lisa's shop That Craft Place.  These pearls come in two sizes, 4mm and 6mm (these are the 6mm) and they have a gorgeous Mother of Pearl like shimmer to them.  They are absolutely divine.

The background paper is from a Lili of the Valley Paper Pad sadly no longer in production but such fantastic quality.  I have quite a bit to keep me going but it makes me sad to think that when they are gone, they are gone! Boooo.

So there you have it folks.  My Easter card ('cos it has a bunny on it, lol) for this week.
Hope you like it.

See you soon.
xxx
Challenges:
(I think this is a perfect image for a female card and of course the image is female too)


Friday, 28 February 2020

Pinky swear - keep a secret!!

Hi all,
No, I haven't got one to share with you, lol.  It is the title of the image I have used on my latest card and you can find her here.
This is my DT card for the Colour Crazy Challenge which started today.
Remember, we are a colouring challenge so there must be some HAND COLOURING on your project - we don't accept digital colouring I'm afraid.
Isn't she fab?
I have coloured her with my copic markers and just kept it really simple.

I often think that when an artist has gone to the trouble of coming up with an image it seems a shame to overcrowd them with flowers or die cuts.
I wanted this to be quite girly and that was the reasoning behind the paper choice here.

I just love that little pinky finger, don't you?
I hope you get chance to join in this fortnight, can't wait to see what you all come up with.
TTFN
xxx

Challenges:


Tuesday, 25 February 2020

Far Away Messages!

Hello everyone
Congratulations to all our winners in the February challenge.
Just a last little bit of inspiration for you.

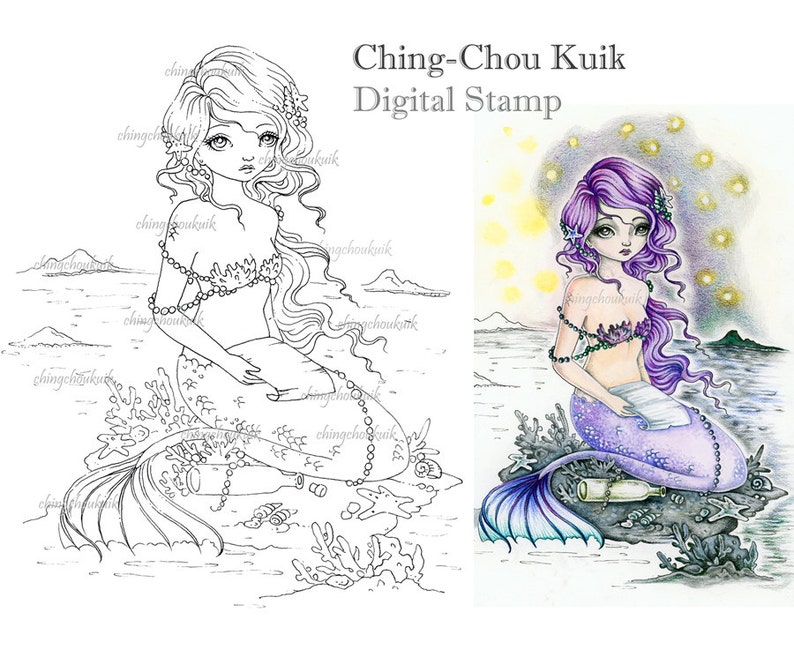
This image is called Far Away Messages
Far Away Messages  Digital Stamp Instant Download / Sea image 0
Isn't she gorgeous?
My image was coloured with my copic markers and if I am totally honest, I am not really happy with this.  I had an idea in my head for the colours on her tail and it just didn't work out how I had imagined it.  I had done everything else and I didn't really want to start over so it is what it is!
Do you do that?
Have an idea in your head that just doesn't work out on paper?
What do you do?  Go with it or throw it away?
I'm just loathed to throw images away that have taken quite a while to colour up, seems such a waste of time.  Hey ho.  I now know what doesn't work! Lol
The little seahorse and starfish are wooden shapes to which I have added some of the fabulous Mermaid Tails Glitter by Lisa Horton Crafts - it is fabulous stuff and it changes colour depending on the colour of the surface you are applying it too.  It's awesome.
The backing papers are from one of my many Lili of the Valley pads which are no longer available.  Goodness knows what I am going to do when I run out. Mind you, that won't be for a little while yet as I have a few!! Lol

Back soon with some more, hopefully better, inspiration.
TTFN
XXX


Tuesday, 4 February 2020

Love Hearts with Oddella.

A very good morning to you all.
Do Valentine Cards always have to be in red or pink?
I don't think so, and that is the thinking behind my latest card.

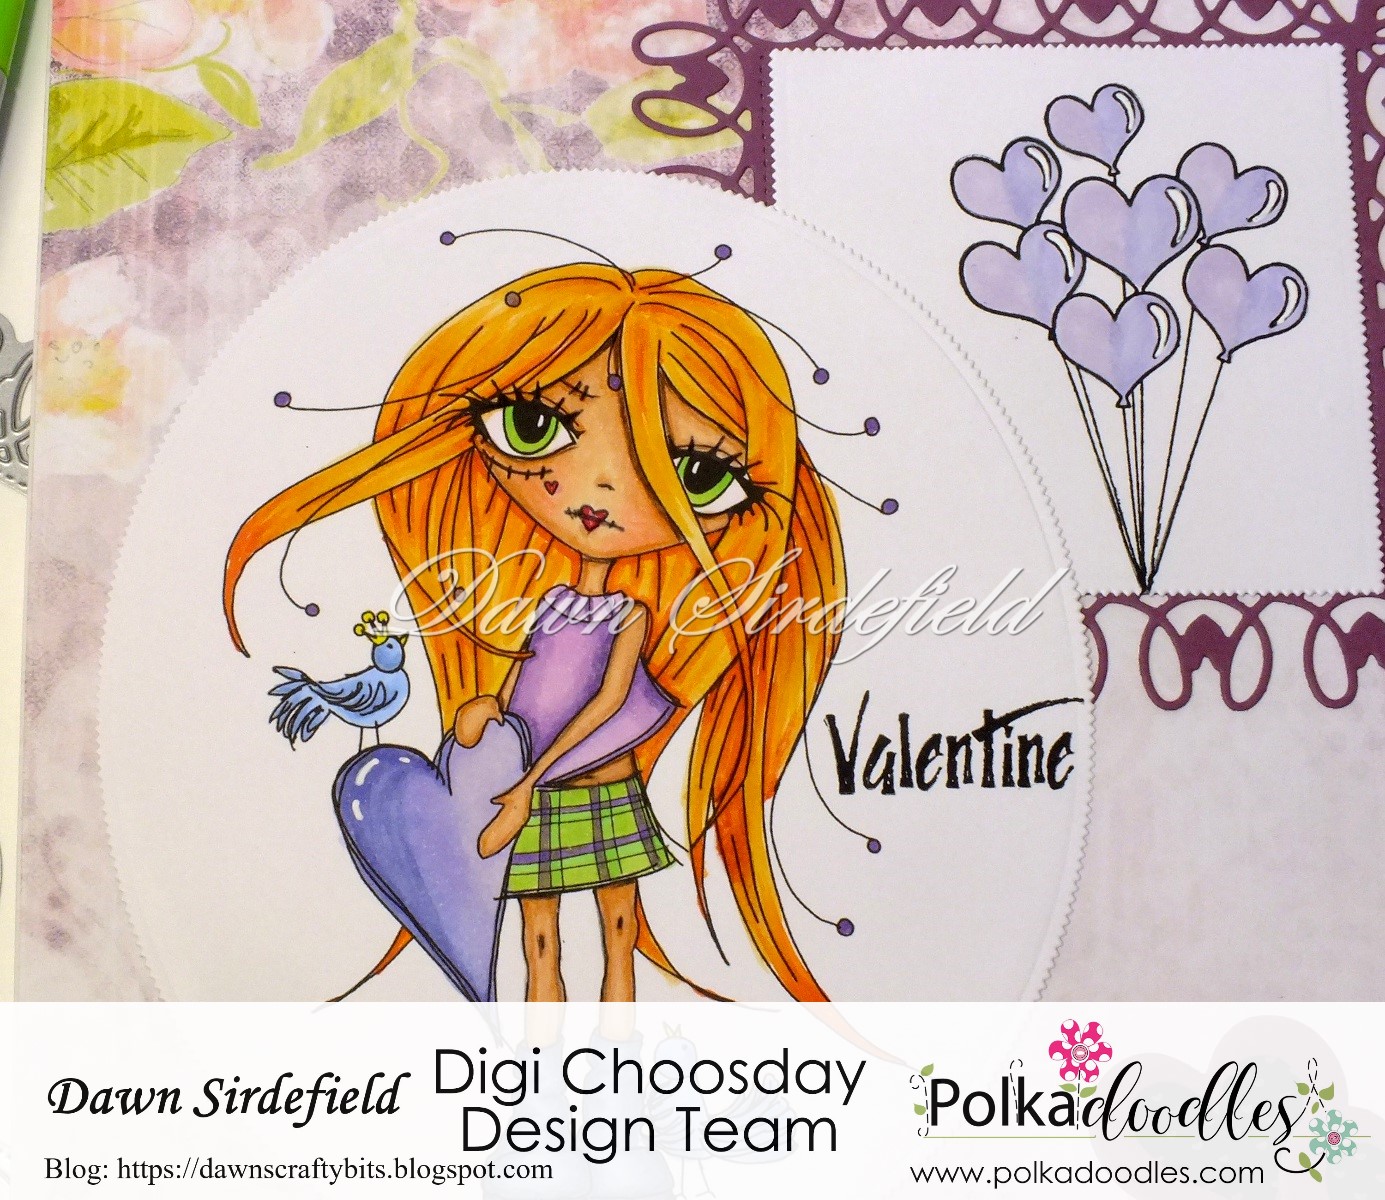
This card features the gorgeous Oddella available here
As soon as I saw this image I just knew she was going to be on my Valentine Card.

Now because she is a bit, "out of the ordinary" shall we say, I thought that the colours I used should be non ordinary too.

You may or may not know that I love purple so that was the colour I went with.  I added a bit of bright green on her skirt to make it a non traditional plaid.

Now obviously she had to have hair that was "different" too so I went with a fabulous Red Head look for her.

The Design Team were challenged to add heart shaped balloons on our projects this week and I knew just how I was going to do that.
Have you seen the Timeless Rose collection which was released recently?  Well if you haven't just click on the link and go have a look - it is a gorgeous collection.  You don't have to buy the whole collection, it all comes as seperate components too, but to be honest when I looked, it just made sense to buy it all! Lol

So in the stamp collection is this perfect stamp of heart shaped balloons! Just what I needed.
I used the die to make a frame and then added a white square on top to stamp the balloons on.  The Heart shapes at the bottom are also part of the die set and I stamped a small heart from the stamp collection on top of them.

The backing papers are from the Winnie Wonderland Paper Heaven 6 download and I love them all.
All in all, I am pretty happy with how this came out.  I think I am getting a bit more adventurous with my layouts these days and that is thanks, in part, to being a part of this fabulous Digi Choosday Design Team.
Are you adventurous with how you put your cards together?  Do you prefer Clean and Simple or The more the Merrier?  Why not leave me a comment and let me know?

So, there you go, that's it from me for today.
See you soon.
xxxx
Challenges:

Wednesday, 29 January 2020

A Fairy Wren

Did you get chance to enter the challenge at Ching Chou Kuik's Facebook page this month?
I do hope so, there have been some lovely entries.
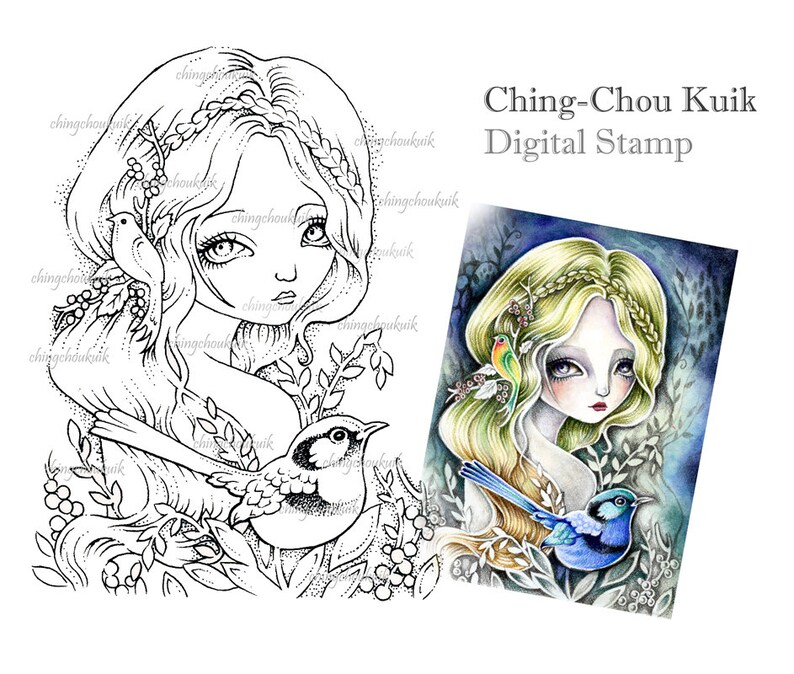
My final card to show you this month is called:
Isn't it just such a beautiful image?
Fairy Wren  Digital Stamp Instant Download / Art by image 0
I love the colour of the bird on this example so I decided to go with similar colours for him.

Again, coloured with my copics and the background is done with Pan Pastels.  This time though, I actually used a paintbrush to add the colour to the background and I am so much happier with the way it turned out.  The background papers are from Claritystamp.  They are all double sided and come in an 8 x 8 pad with four sheets of each design.  Superb quality, the only downside is choosing which side to use! Lol

The flowers are from my stash.  I shall add a sentiment once I decide who it is going to and why.
I really need to be more adventurous with colour I think, I always seem to go with purples and blues.  They are my "go to" colours.  What are your favourite colours?  Do you have any colours that you just hate to use?

Pop me a comment before you leave, let me know what you think about my card and also about your colour likes/dislikes.  I love reading all your different choices and reasons.
So, until next time.......
xxx
Challenges:

Saturday, 25 January 2020

A Mythical Beauty

Hi all,
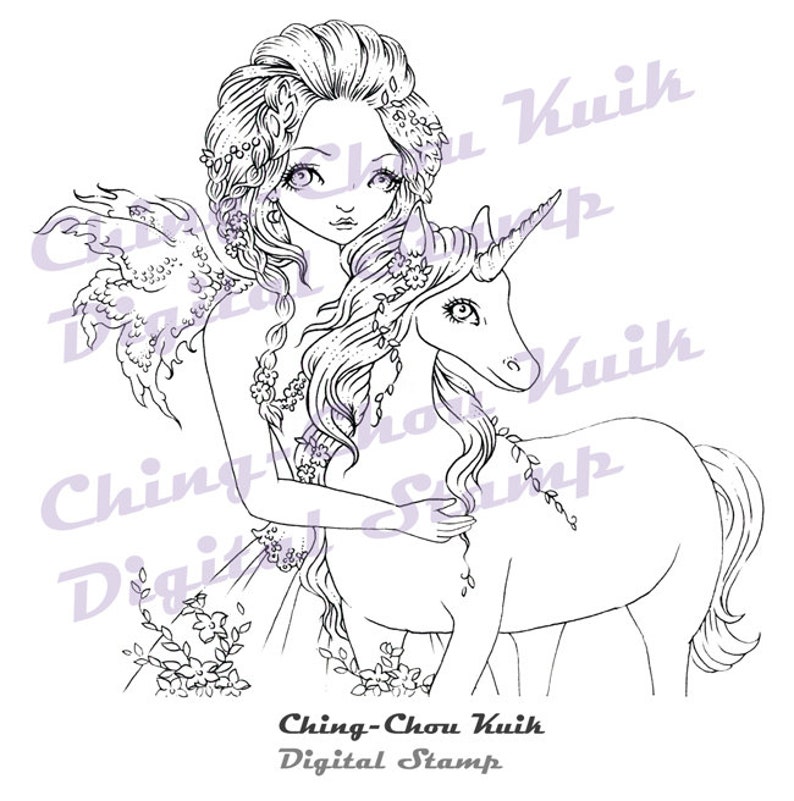
Do you prefer Fairies or Unicorns?
I mean if you had to choose something mythical, which would it be?
Well, for me it would be Unicorns.  I just love the thought that there might be something so beautiful and ethereal out there. 
So, with that in mind, and the DT challenge to use something mythical this week, obviously I had to choose a Unicorn image.
This one is called Unicorn Love (I mean who couldn't love this beauty, right?)
Unicorn Love  Instant Download / Magical Animal Horse Fantasy image 0
Sometimes, when you see an image, you get an idea in your head of how you want it to look don't you?  Well, in this instance it turned out better than what was in my head! Even if I do say so myself.

Coloured with my copics, I am just so chuffed with the end result.  I am particularly pleased with her hair. The background is done with distress inks using some Claritystamp masks and the sky is just done with brushed inks and some sponging over the top for the clouds.


The background paper is from a DCWV paper pad called The Once Upon a Time Stack.  Now let me tell you, I have had this pad for years!  You know what it is like, you see a paper pad in a store and you think "Wow! The things I could do with that!" and you just HAVE to buy it!  Well, that's what happened with this pad.  Trouble is, once I got it home, none of the projects I made fitted the papers so hence the reason I still have quite a bit left.  This backing paper was just SO perfect for this image, don't you agree?  So, image and backing paper - nothing else!! Does it need anything else? I don't think so, do you?

Thanks for stopping by, and please leave me a comment on my card before you leave.  I do love to read all your comments.  Hope you find time to enter the challenge over on Ching Chou Kuik's Facebook page and also over on the Challenge blog where the theme is exactly the same.  So that gives you double the chances to win doesn't it? 

Until next time.....
xxx

Challenges:

Saturday, 11 January 2020

New Year, New Stash!

Hello everyone.
So by now you will know that our new challenge has started over at Ching Chou Kuik's Facebook page. (The challenge blog also has the same challenges each month so you can share them in two places every time!)
So my first card this year features Crane of Peace - as soon as I saw it I just had to have it, isn't it gorgeous?
Coloured with my copics and the background was done with pan pastels.  The backing paper is from a fabulous paper pad by Claritystamp called Rainbow River.  The sentiment is a Claritystamp Word Chain stamp.  Those gorgeous flowers are from a lady on Facebook - she makes so many different paper flowers and they are all stunning.  Here is a link to her facebook group, just in case you want to pop over and have a sneaky look. Lol 

Now the only thing I am not happy with on this is the sun! It really didn't turn out as I had imagined in my head - hey ho, I wasn't doing the whole think again!! Lol

I will be back soon with more Ching Chou Kuik inspiration for you.
TTFN
xxx
Challenges:

Tuesday, 7 January 2020

Winter Birthday Card - Digi Choosday

Hello everyone
Firstly, can I take this opportunity to wish you all a Very Happy New Year.
I hope you all had a fabulous festive time and enjoyed yourselves.

So, new year, new challenge.
This is my first project for 2020.  (Gosh that feels weird!)
Anyhoo, here we go.
Our challenges at Digi Choosday, as you probably know, are always ANYTHING GOES!  However, the Design Team always have little extra challenges to build in to their projects and this first project of 2020 was to make a Winter Birthday card.

Isn't she just beautiful?  She is called Snowdrop from the Darling Buds collection.  This collection of images is just tooooo pretty.  I think I may have to have them all! Lol

Now the image comes in black and white for you to colour yourself but as a fabulous bonus the download also includes a pre-coloured image and that is what I have used here.  The reason I went for the pre-coloured image on this occasion was because I wanted to make a matching tag and I wanted it to be an exact copy so I just printed two images in different sizes which worked perfectly.

The Happy Birthday sentiment is from the Winnie Celebrations 3 sentiments download and the other sentiment is from the Quotes - Winnie Special Moments download.

Now because I adore the image I didn't want to overpower it with lots of flowers and embellishments so I decided to just use a background paper.  Oh my, as soon as I saw this paper I just knew it would be a perfect background to the image.  This is from the Winnie Wonderland Paper Heaven 6 download - isn't it just the prettiest paper??

I always have to add my images on an angle (well more often than not anyway), don't know why, just think it looks a bit more interesting that way.  How do you like to add your images?  Are you a jaunty or level kind of crafter??  I'd love to know.

Anyway, just before I go, I want to remind you that not only is today the start of our new challenge at Digi Choosday, there is, of course a FABULOUS HUGE DISCOUNT available for you to use at the POLKADOODLES STORE.  Just hop on over to the challenge blog and you will find the discount code at the top of the new challenge post.  I'm sure some of you will have received a few pennies for Christmas eh?? Lol

Until next time.
xxxx

Challenges:

Tuesday, 10 December 2019

Through the Window - Digi Choosday Challenge

Hello everyone
Well, things are moving along quite quickly now aren't they?  Not long before the big man goes a visiting!  Hope you are all ready? Lol

I wanted to show you my latest creation today which is a bit different for me.  I feel like I have regressed to my childhood! hahaha

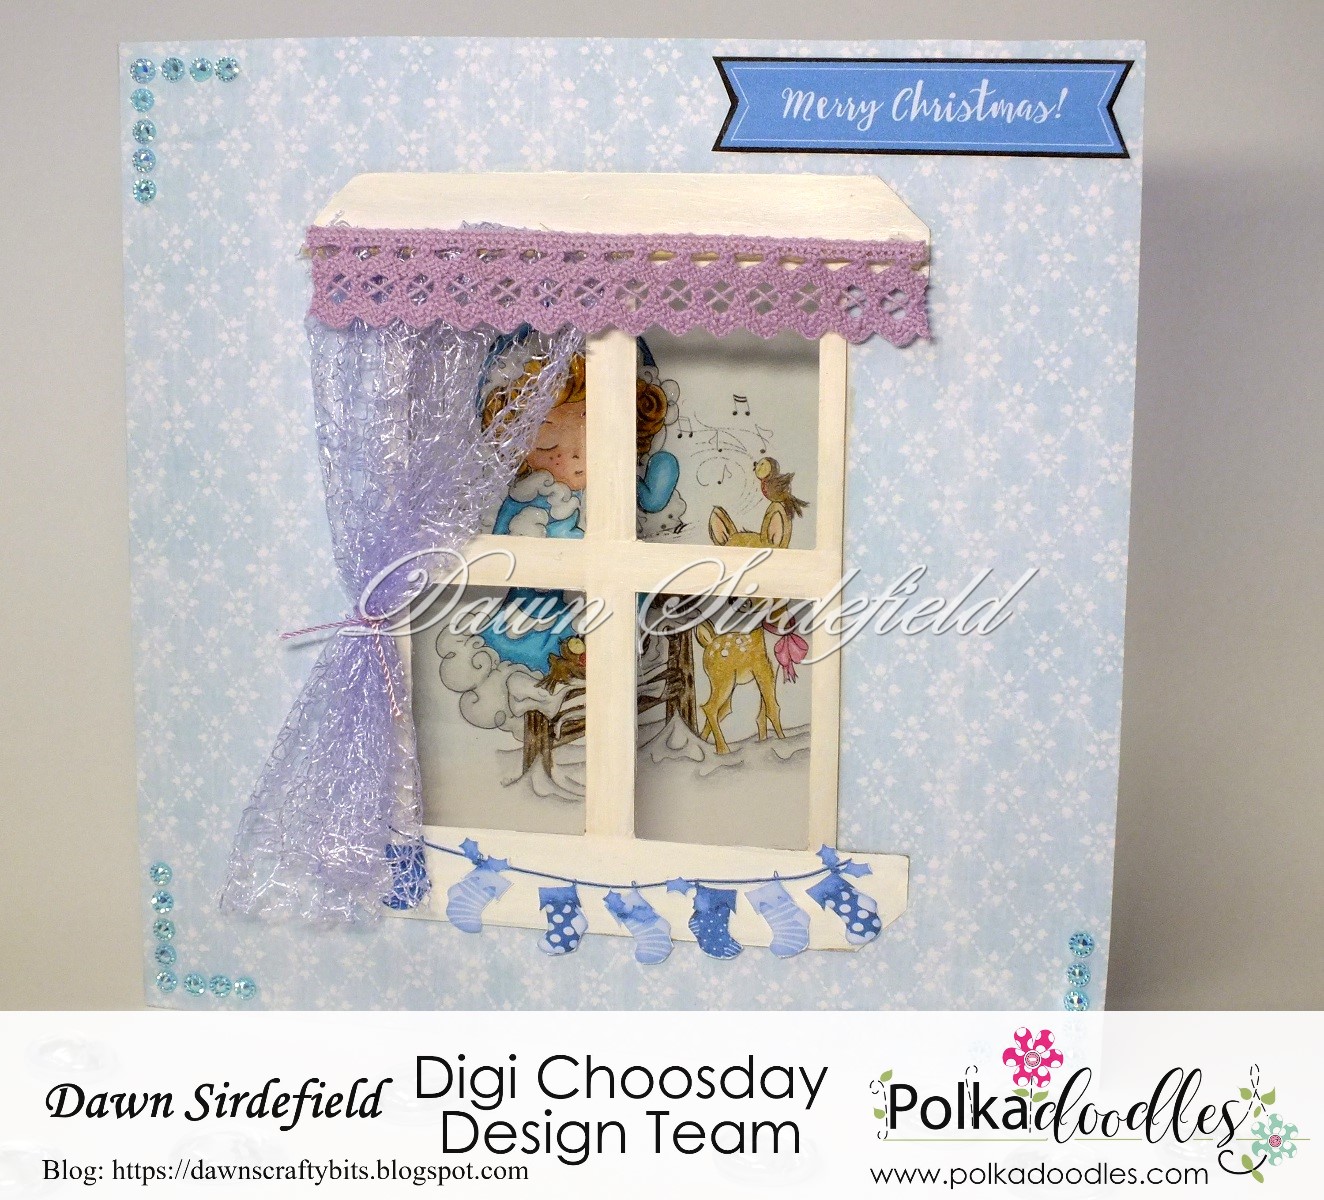
For my card this time I made a "Window frame" which I cut out of Kraft card and then painted with white gesso.  I suppose I could have just used white card really couldn't I? Lol

So I wanted people to think that they were in this room and were looking out at the sweet little Carol Singer outside with her pretty little reindeer and singing birds. The image is called Winnie Heavenly Angel, Musical Winter, isn't she just the cutest?

In order to make it look like an inside window I added a piece of "net curtain" and a "pelmet" (gosh I sound old now don't I??)  I used a wooden skewer for the pole and then folded the top of the net over and stitched along the width and then threaded it onto the pole.  I was going to leave it like that but it just didn't look finished so added the chunkier lace on top.

To add to the feeling of being inside I attached a line of little stockings to the window sill. These came from the Winnie Winterland Tags and Frames digital download I changed the colour of these in my Craft Artist programme to match the "wallpaper" 😀

I added a sentiment, again from the same Tags and Frames download, which I again changed the colour on and then finished off the front with some sparkly gems.  

Then I coloured up the sweet little image and added it to the inside of the card.  I had to fiddle around with where it printed on my page so that when I trimmed the paper it fitted square on the inside.

The image is coloured with my polychromo pencils and the background is done with Pan Pastels.  I have added some sparkle to the fur on her hat and coat but it doesn't really show up very well on the pics.  Looks okay IRL though! Lol

So, there you go then.  What do you think?  Does it look like my granddaughter made it?? Lol (She is 2 by the way! 😂😂😂😂)

Now remember today is the start of the new challenge over at Digi Choosday which means not only do you have another two weeks to submit an entry for the challenge but you also get a MAHOOSIVE DISCOUNT on selected digital products over at the POLKADOODLES STORE.
Hop on over to the DIGI CHOOSDAY CHALLENGE BLOG and pick up your DISCOUNT CODE and have a mooch around the store.
You have to be quick though, it only lasts until midnight!

Right, I shall be off then.  Please let me know what you think of my project, I do love to read all your comments.
TTFN
xxx

Challenges:

Tuesday, 29 October 2019

A purplicious birthday card.

Hi everyone.
Here I am again to show you my latest creation.  This is a birthday card I made for a lovely young lady.
It is Choosday again folks and you know what that means don't you?  You're right, a new challenge at Digi Choosday and a fabulously wonderful huge discount off selected digital items from the Polkadoodles store.  So why not hop over to the challenge blog and grab your code and do a wee bit of shopping.  
But, wait, hang on a minute.  Just let me tell you about my card first.
I thought I would try and show you all how versatile the world of digital stamping really is.
My card is 100% digital this time.  Yep that's right, this card is totally flat although there are elements that make it appear not to be.
Let's take a look at exactly what I did to achieve this final result shall we?
I have a digital image programme called Craft Artist and that is where I do all my manipulation of the digital images.
So, firstly I downloaded the images I wanted to use on my card.  There are three paper pieces, five digital images and two digital sentiments.  I will give you all the product details in a minute or two, just in case you want to go an spend that fabulous discount code. 😉😉

Let me show you a closer view of the finished item and you should then be able to see all the individual items.
First off I added one of the sheets of paper at the back as the base.  Then I put the other two pieces onto a black background (like matting and layering).  The programme lets you put the pieces in any order so you can move things from front to back and vice versa.
Then, on top of the lightest piece of paper I added an image of a candle.  Now this is from a Christmas set so was red with holly on.  I changed the colour in my digital programme to fit in with the rest of the card and I hid the holly by putting presents in front of the candle.  Again, the presents are from a Christmas set so the colours were all wrong for my theme so I changed them to purple.  This is great as it changes the whole image into shades of purple rather than a block of colour.
Then I added my image - the gorgeous Winnie, May Your Wishes Come True.  The only thing I did with the image was to add a shadow to it to make it look 3D and I placed her so that she looks like she is standing on the frame rather than floating in mid air.  So this is how she comes if you buy the pre-coloured image.  I wanted her to stand out against all the purple so left her in her original colours, which are of course, gorgeous.
Then I added a flower from the Horace and Boo Floral collection.  I added the image twice, grouped the two images together, (this means that you can manipulate them both at the same time in exactly the same way, making them the same size etc) and then made them look 3d decoupaged using my programme.  Again I changed the colour to match my colour scheme.  Then I copied that image twice to give me three flowers, grouped them all together and placed them in the top corner.
Then I added two sentiments.  Again I added them to white and black backgrounds to make it look as though they were matted and layered.
Printed it off and stuck it to my card base and there you go! Simples!!
So here is what I used. I have indicated which things have been edited in my digital programme just so you know.

So, if you haven't ever thought of digital stamping, why not give it a go?
Then you could come back and leave me a message with a link so I can see what you did.
Can't wait to see all your fabulous entries in our latest challenge.  You always make choosing a Top 3 really difficult. Lol
Have fun.
TTFN
Challenges: